To archive a file, follow these steps:
- Navigate to the desired project.
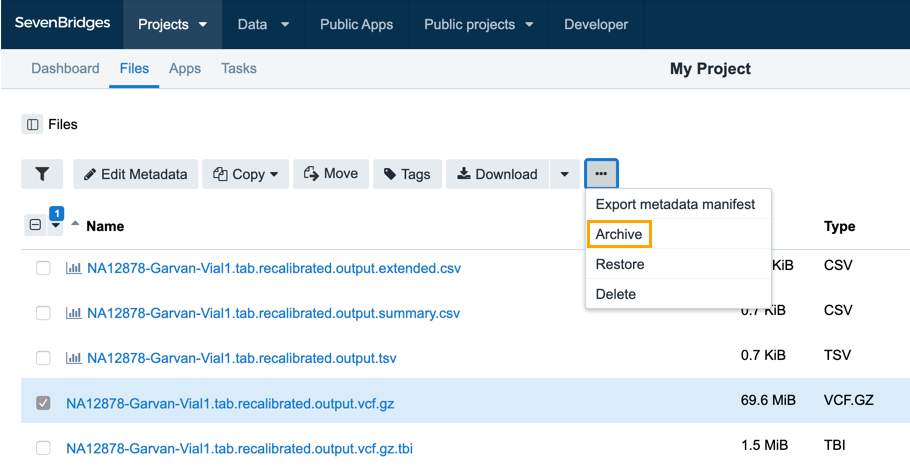
- Click the Files tab from the project dashboard.
- Select one or more files by ticking the checkbox next to the desired file name(s).
- Click the dropdown on the far right (denoted with "...") and choose Archive.

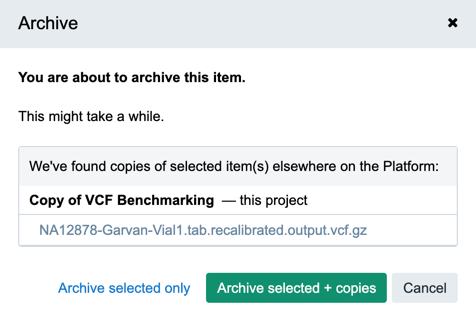
- Click Archive selected only from the confirmation dialog.

If copies of the files you have selected also exist in other projects where you have the write privilege, we will offer to archive those files as well.
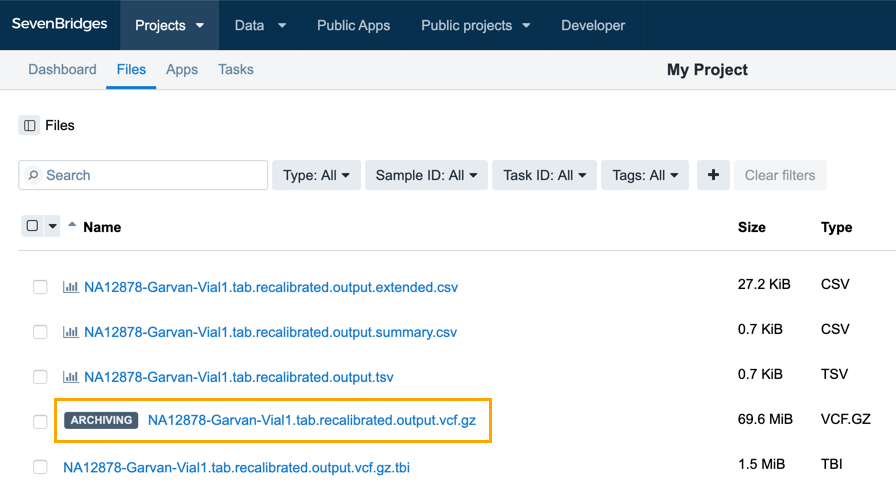
The archiving of the file will then begin, which will be denoted by the ARCHIVING icon next to the file name.

While a file is being archived, it cannot be used on the Platform in any way. Information about the file status is also displayed within the File Status column (if you don't see this column, click the gear icon and enable it by choosing File Status).
The amount of time it takes for a file to be archived depends on the file size and current system load. Once the file has been archived, it will have an archived icon next to its name.
Archived files can be copied, deleted, and their metadata can be edited. They can also be restored, which will make their content available again for processing or downloading.
Updated 3 months ago
