Using the RHEO visual interface (GUI)
In the previous section, we learned how to deploy and start an automation using the Seven Bridges CLI.
Here, we show how to run the same automation using the Seven Bridges visual interface (GUI). In addition, we learn how to modify this automation so that users can conveniently select input files using the platform file picker and how to have the automation produce visible outputs.
First, let’s run the previously deployed automation using GUI. To do that, log into the Seven Bridges Platform and click on the “Automations” menu at the top (if you don’t see this menu it means automation is not enabled for your account and you should contact SB support).
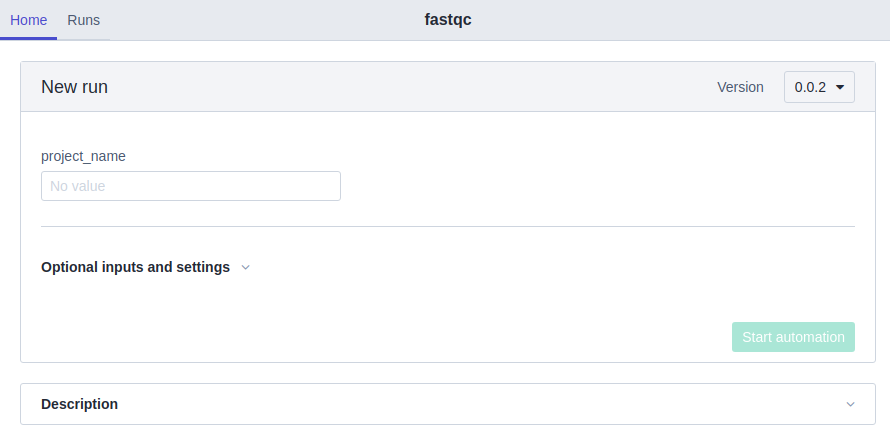
You should now see a card named “fastqc”, which is the automation entity created in the previous section. After clicking on the card title, the following page appears:

By examining the automation code package, the visual interface already knows that your automation main step has an input named project_name of type str and it renders the appropriate input control (a single-line input box in this case).
Enter fastqc-testrun-gui under project_name and click Start automation.
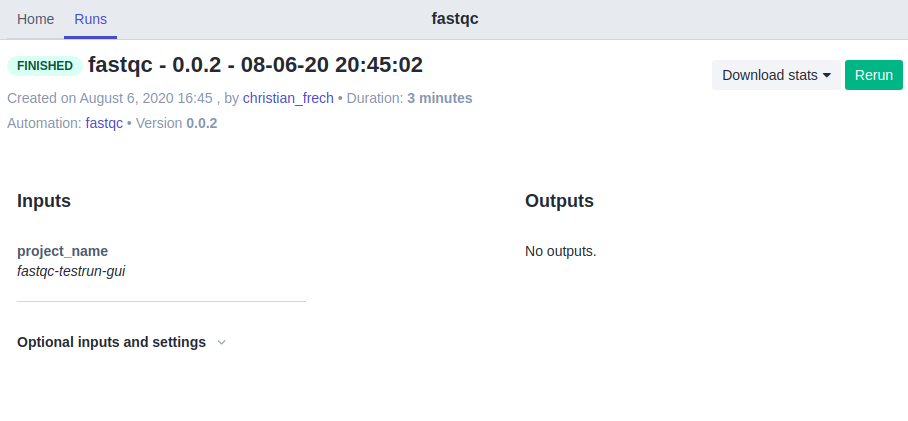
The automation runs for about ~3 minutes, after which your browser should show the run details page with status FINISHED.

Note that the automation does not have a defined output yet, so it says “No outputs”.
When you click the Runs tab at the top, you should now see a list of at least two automation runs: the one that we started via the CLI previously, and the one we just started via the visual interface:

Adding automation inputs and outputs
You might have noticed that above example automation is not particularly useful, because it always processes the same FASTq input file, whose name is hard-coded inside the automation code. Also, because the automation does not produce any outputs, automation users are left wondering where the analysis results went.
We can easily create a modified version of this automation that (a) allows users to select the input FASTq file via a file picker and (b) furnishes the produced FastQC HTML report as a clickable output.
First, we add an automation input of type File to the automation main step. Next, we add an automation output of type File and assign the produced HTML report to this output.
Finally, we change the FindOrCopyFilesByName step to FindOrCopyFiles, because the input file is already available as resolved file object within the step’s execute function and no longer needs to be queried by name first.
Here is how the automation main step looks like after making all these necessary changes:
class Main(Step):
    project_name = Input(str)
    fastq = Input(File, name="FASTq file")
    report = Output(File, name="FastQC report")

    def execute(self):

        ctx = Context().initialize(
            project_name=self.project_name, apps={"fastqc": self.config_.fastqc}
        )

        fastq_file = FindOrCopyFiles(
            files=[self.fastq],
            to_project=ctx.project,
        ).copied_files[0]

        fastqc = FastQC(fastq_file=fastq_file)

        self.report = fastqc.report_html
Next, you should build and deploy a new version of the code package, using the deploy procedure described in the previous section. Just make sure that you give your new code package a different version identifier and that you create this code package under the same parent automation.
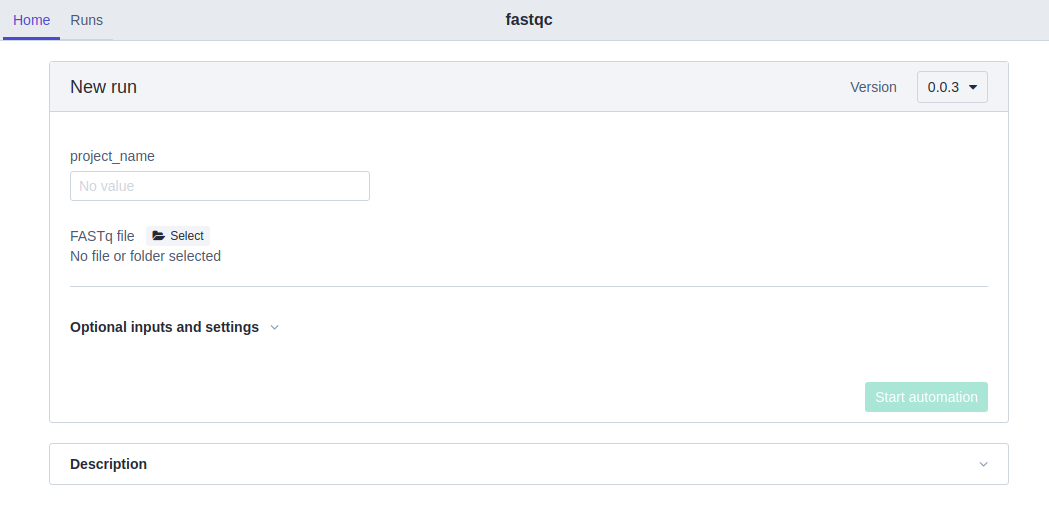
After you refresh the page, the GUI should automatically reflect the changes to the code package. The version number of this new code package is shown at the top-right.

In addition to project_name, we now have another input named FASTq file that allows us to select an input file from the platform via the file picker.
Let’s go ahead and run the automation using the same input file we had hard-coded previously. You can find this file under Public Files under the name example_human_Illumina.pe_1.fastq.
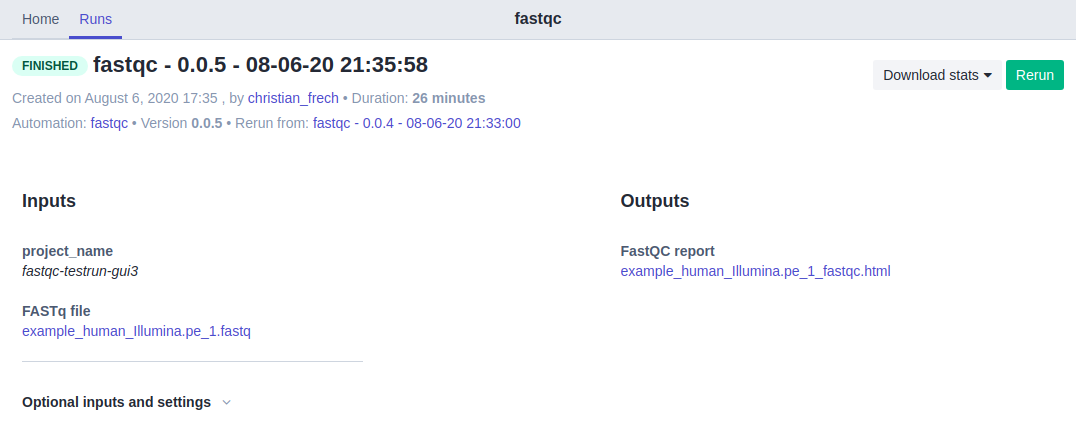
Start the automation and wait until it is finished. Your screen should then show something like this:

Note the output file to the right, which now provides a link to the HTML report produced by FastQC.
Tip: You can still start this automation via the command line by providing the Seven Bridges file ID as value for the --fastq input. Automatic resolution of file names will be available in a future release.
Congratulations! You have now a basic understanding about how to write automations that display proper input and output controls on the Seven Bridges visual interface.
A comprehensive description of available input and output types and their visual representation can be found here.
Also, please make sure that you check out the other automation examples we have online in our public GitHub repository.
Next: Repository structure
Updated 3 months ago
